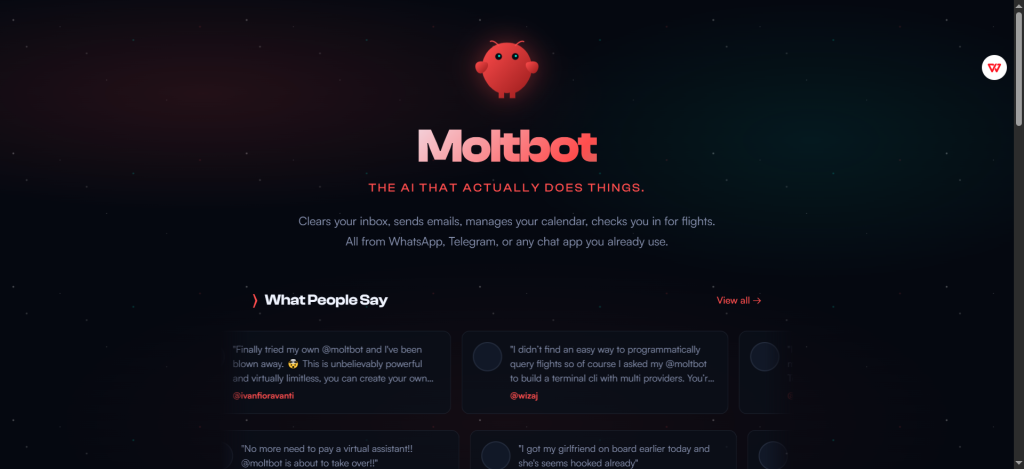
Stop switching between apps to get things done. Imagine sending a quick message on Telegram or WhatsApp: “Summarize my meetings, draft the follow-up emails, and check me into my flight.” A few seconds later—done.
Stop switching between apps to get things done. Imagine sending a quick message on Telegram or WhatsApp: “Summarize my meetings, draft the follow-up emails, and check me into my flight.” A few seconds later—done.
If you’ve seen viral clips of AI proactively sending messages or managing complex workflows across platforms, you’re likely looking at ClawdBot. (Note: Due to trademark requirements from Anthropic, ClawdBot has officially been renamed to MoltBot, though I will primarily refer to it as ClawdBot in this guide for consistency with its viral recognition.) Unlike traditional, reactive chatbots that wait for your input, ClawdBot is an Autonomous AI Agent that integrates directly with your local system. I’ve spent time auditing the source code and testing its deployment; here is my professional guide on how this tool works and how you can set it up.
Why Is Everyone Obsessed with ClawdBot/Moltbot?
ClawdBot is an open-source project created by renowned developer Peter Steinberger. At its core, it acts as a bridge between high-reasoning LLMs (like Claude 3.5/3.7 or GPT-4o) and your local operating system.
The Secrets Behind Its Viral Success:
- The “Proactive” Shift: Most AI is reactive—it waits for you to ask. ClawdBot is proactive. It can monitor your inbox, watch stock prices, or check your calendar and reach out to you with briefings or reminders.
- Action, Not Just Text: It doesn’t just “talk” about tasks; it executes them. Whether it’s modifying files, running shell scripts, or controlling a browser, it closes the loop on productivity.
- The Mac Mini Trend: A major trend in the dev community involves using an old Mac Mini as a 24/7 dedicated “AI Host.” This “AI-in-a-box” approach has made ClawdBot the go-to software for personal automation in 2026.
What Can ClawdBot/Moltbot Actually Do?
ClawdBot is structured into three layers that turn an LLM into a functional employee:
- The Communication Layer (Channels): Connects to WhatsApp, Telegram, Slack, or iMessage. Your assistant lives where you chat.
- The Brain Layer (Models): You choose your provider—Anthropic (Claude), OpenAI, or even local models via Ollama.
- The Action Layer (Tools/Skills): You authorize specific “Skills”—browser control, file system access, or terminal (Shell) commands.
Comparison: ClawdBot vs. Traditional AI Agents
| Feature | Standard AI (ChatGPT) | Early Agents (AutoGPT) | ClawdBot |
| Interface | App or Web Browser | Command Line (CLI) | Instant Messaging (Telegram/WA) |
| Availability | Session-based | Task-based (closes after) | 24/7 Background Daemon |
| System Access | None (Sandboxed) | Experimental/Unstable | Stable Local File & Shell Access |
| Memory | Resets often | Complex/Heavy setup | Persistent Local Markdown Memory |
Step-by-Step: How to Deploy ClawdBot
I used Peter Steinberger’s open-source GitHub repo as my roadmap and decided to tackle the deployment myself. As someone with absolutely zero coding experience, here is my step-by-step walkthrough—and a few major pitfalls I hit so you don’t have to.
Prerequisites
- A 24/7 Device: I recommend using a spare Mac/Linux machine or investing in a cloud server; server stability is a critical factor that directly dictates the reliability and uptime of your AI Agent.
- Node.js ≥ 22: Check your version with
node -v. If not already installed, head over to https://nodejs.org to get started. - LLMAPI Key: While it supports many, I highly recommend Claude (Anthropic) for its superior tool-calling accuracy.
Installation Steps
Step 1: Install the ClawdBot CLI
Run the official installer in your terminal:
- macOS/Linux:
curl -fsSLhttps://clawd.bot/install.sh| bash - Windows (PowerShell):
iwr -usebhttps://clawd.bot/install.ps1| iex
Step 2: Run the Onboarding Wizard
ClawdBot uses an interactive wizard to link your gateway, model, and channels.
- Command:
clawdbot onboard - Pro Tip: Use
clawdbot onboard --install-daemonto set it as a system service so it starts automatically if your computer reboots.
Step 3: Connect Your “Brain” and “Channel”
- LLM: Select Anthropic and provide your API Key.
- Channel: ClawdBot is compatible with Telegram, WhatsApp, Discord, Slack, and iMessage (macOS).
Tip: If you’re starting from scratch, Telegram and Discord are the best entry points. Their setup processes are incredibly straightforward, and obtaining a free bot token is quick and easy.
- Telegram Bot: Search for @BotFather on Telegram, create a
/newbot, and paste the Bot Token back into the ClawdBot wizard. - Restart: Run
clawdbot gateway restartto apply the changes.
Step 4: Test Your Assistant
Follow the prompts to finalize the standard configuration, such as selecting skills.
Tip: If you’re a beginner, I recommend sticking with the defaults for now; you can always expand or customize them later as needed.
Now, simply message your new Telegram bot. If it replies, your personal AI agent is officially live.
Security: Maximizing Value, Minimizing Risk
As a professional analyst, I must emphasize: High permission equals high risk. Giving an AI access to your Shell and files requires a “Zero Trust” mindset.
- The “Stranger” Risk: By default, ClawdBot only responds to approved users. Never set
allowlist="*"unless you want the internet controlling your PC. - Prompt Injection: When the AI reads an external webpage or email, that content could contain hidden malicious instructions. Always use the “confirm-before-executing” setting for sensitive tools.
- Least Privilege: Do not run ClawdBot as a root/admin user. Give it access only to specific folders it needs to perform its job.
FAQ
What is ClawdBot/Moltbot used for?
It is used for personal productivity automation. Common use cases include: managing local files via chat, executing system maintenance scripts, summarizing cross-platform notifications, and acting as a remote entry point for your home server.
Is ClawdBot/Moltbot free?
The software itself is free and open-source. However, you are responsible for the API costs from providers like Anthropic or OpenAI, and the electricity or cloud hosting costs for keeping the bot online 24/7.
Is ClawdBot/Moltbot open-source?
Yes. The entire codebase is hosted on GitHub. This transparency allows for security audits and enables developers to customize the “Soul.md” file to define the agent’s unique personality and rules.